In the realm of culinary wonders, few kitchen appliances have made as big a splash as the air fryer. With its ability to produce crispy, mouthwatering dishes with significantly less oil than traditional frying methods, it’s no wonder why air fryers have become a staple in kitchens around the world. If you’re a fan of Mexican cuisine and want to elevate your taco game, you’re in for a treat. In this comprehensive guide, we’ll explore the art of making mini tacos in your air fryer. Get ready for a fiesta of flavors and textures that will leave you craving for more.

Why Choose Mini Tacos in the Air Fryer?
Before we dive into the step-by-step instructions, let’s talk about why the air fryer is the perfect tool for crafting mini tacos. Here are a few compelling reasons:
1. Healthier Cooking
With an air fryer, you can achieve that crispy texture you love in tacos without submerging your ingredients in a pool of oil. This means you can enjoy your favorite Mexican dishes with less guilt.
2. Speed and Efficiency
Air fryers are known for their quick cooking times. Mini tacos in the air fryer are ready in a fraction of the time it takes to prepare them in a conventional oven.
3. Versatility
Air fryers are incredibly versatile. You can use them to cook a wide range of dishes, from appetizers like mini tacos to main courses and even desserts.
Now that you’re convinced that the air fryer is your new best friend in the kitchen, let’s get started with the mini tacos recipe.
Ingredients You’ll Need
Before you embark on your mini taco adventure, gather these essential ingredients:
For the Mini Tacos:
- Small tortillas (corn or flour, depending on your preference)
- Ground beef or chicken (or a vegetarian alternative)
- Taco seasoning
- Shredded cheese
- Chopped lettuce
- Diced tomatoes
- Sour cream
- Salsa
For Optional Garnishes:
- Sliced black olives
- Sliced jalapeños
- Chopped cilantro
- Guacamole
Step-by-Step Instructions
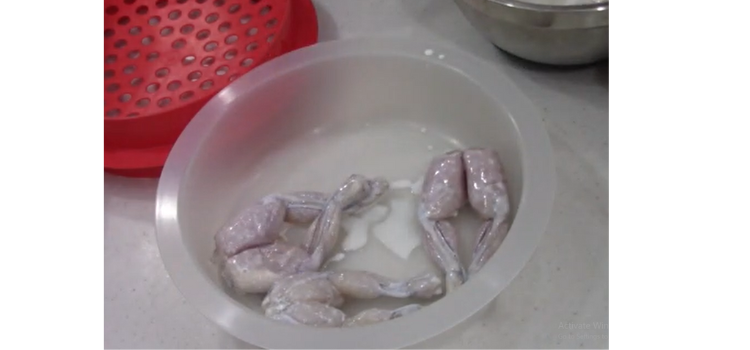
Step 1: Prepare Your Filling
- Start by browning your choice of ground meat or preparing your vegetarian alternative in a skillet over medium heat. Be sure to break up the meat into small crumbles as it cooks.
- Once the meat is browned, drain any excess fat, and add the taco seasoning. Follow the seasoning instructions on the package, typically adding water and simmering for a few minutes.

Step 2: Assemble the Mini Tacos
- Lay out your small tortillas on a clean surface.
- Spoon the seasoned meat onto each tortilla, followed by a generous sprinkle of shredded cheese.
- Add chopped lettuce, diced tomatoes, and any other desired toppings.
Step 3: Fold and Secure
- Gently fold each tortilla in half, creating a half-moon shape.
- To prevent your mini tacos from opening during cooking, use toothpicks to secure the edges. Make sure to remove these toothpicks before serving.
Step 4: Preheat Your Air Fryer
- Preheat your air fryer to 350°F (180°C). This step ensures that your mini tacos cook evenly and become delightfully crispy.
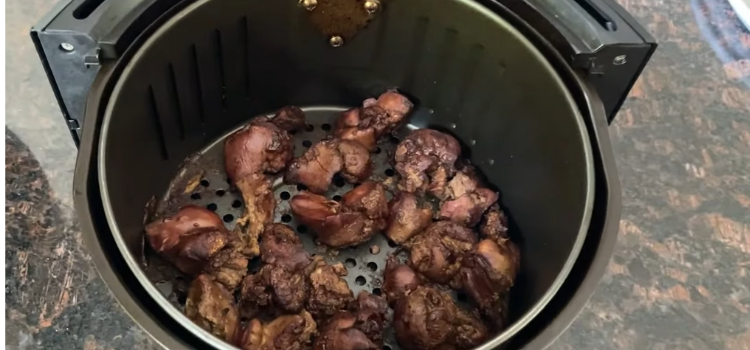
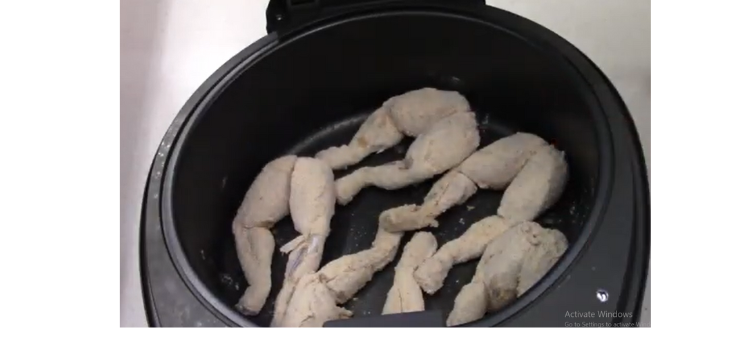
Step 5: Cook the Mini Tacos
- Place the prepared mini tacos in the air fryer basket, ensuring they are not overcrowded.
- Cook for about 5-7 minutes or until the tacos are golden brown and crispy.
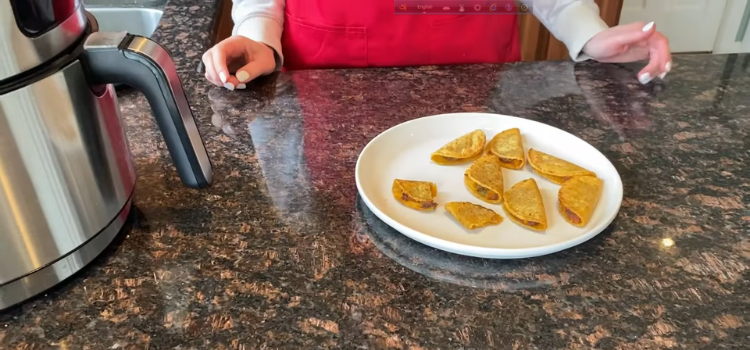
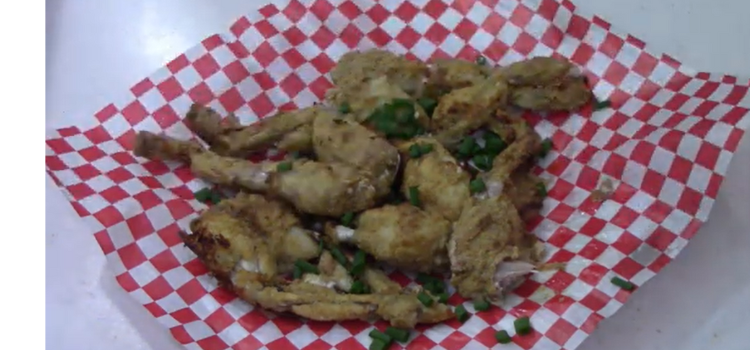
Step 6: Serve and Enjoy
- Carefully remove the mini tacos from the air fryer using tongs.
- Serve them hot with sour cream, salsa, and any optional garnishes you desire.
Tips for Perfect Mini Tacos
To truly master the art of making mini tacos in the air fryer, consider these tips:
- Experiment with different fillings, such as shredded chicken, sautéed vegetables, or even seafood for a unique twist.
- Don’t overfill your mini tacos to prevent them from bursting open during cooking.
- For a healthier option, use whole wheat tortillas and lean meats.
- Get creative with your toppings, and don’t be afraid to add your favorite ingredients to customize your mini tacos.
Final Thoughts
There you have it—mini tacos made to perfection in your air fryer. With the crispy shells and flavorful fillings, you’ll savor every bite of these delightful treats. Whether you’re hosting a party, enjoying a family dinner, or just satisfying a taco craving, your air fryer will be your trusty sidekick in creating mini tacos that will leave your taste buds dancing. So, fire up your air fryer, gather your ingredients, and get ready to enjoy a fiesta of flavor in the comfort of your own home.


![Created with AIPRM Prompt "Smart and Detailed Article(H tags) [Updated]" Sous Vide vs. Pressure Cooker](https://pandoraseafoodhouse.com/wp-content/uploads/2023/09/Untitled-design25.png)
![Created with AIPRM Prompt "Smart and Detailed Article(H tags) [Updated]" Sous Vide vs. Pressure Cooker](https://pandoraseafoodhouse.com/wp-content/uploads/2023/09/Untitled-design21.png)
![Created with AIPRM Prompt "Smart and Detailed Article(H tags) [Updated]" Sous Vide vs. Pressure Cooker](https://pandoraseafoodhouse.com/wp-content/uploads/2023/09/Untitled-design24.png)
![Created with AIPRM Prompt "Smart and Detailed Article(H tags) [Updated]" Sous Vide vs. Pressure Cooker](https://pandoraseafoodhouse.com/wp-content/uploads/2023/09/Untitled-design22.png)
![Created with AIPRM Prompt "Smart and Detailed Article(H tags) [Updated]" Sous Vide vs. Pressure Cooker](https://pandoraseafoodhouse.com/wp-content/uploads/2023/09/Untitled-design23.png)
![Created with AIPRM Prompt "Smart and Detailed Article(H tags) [Updated]" Sous Vide vs. Pressure Cooker](https://pandoraseafoodhouse.com/wp-content/uploads/2023/09/Untitled-design20.png)