If you’re a coffee enthusiast, you’re probably no stranger to the convenience and delight of a Nespresso machine. The rich aromas, the smooth crema, and the perfect espresso shots are enough to make any coffee lover’s heart skip a beat.
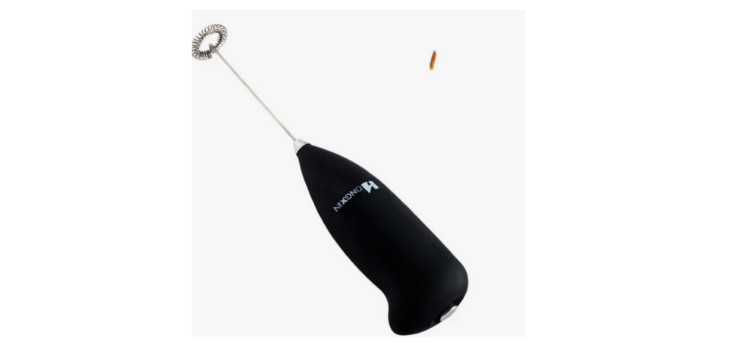
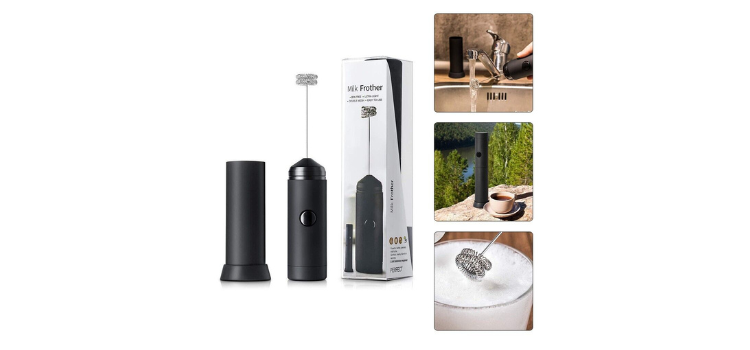
And if you’re a fan of specialty coffee drinks, then you likely own a Nespresso milk frother as well. But just like any other kitchen appliance, your Nespresso milk frother requires proper care and maintenance to continue producing those velvety milk froths that elevate your coffee experience.
In this guide, we will walk you through the steps of how to clean a Nespresso milk frother, ensuring that your frother remains in top-notch condition and continues to churn out creamy froths that adorn your beverages.
Understanding the Importance of Regular Cleaning
Maintaining your Nespresso milk frother is not just about aesthetics; it’s about ensuring the longevity and quality of your frothing sessions. Milk contains proteins and fats that, when left uncleaned, can accumulate and form a stubborn residue inside your frother.
This residue not only affects the flavor of your frothed milk but can also clog the frothing mechanism over time. Regular cleaning prevents these issues, allowing you to enjoy consistent froths and extend the life of your appliance.
Gathering Your Cleaning Supplies
Before you embark on the journey of cleaning your Nespresso milk frother, make sure you have the necessary supplies ready:
1. Mild Dish Soap

Look for a gentle dish soap that will effectively remove milk residue without causing any damage to the frother’s components.
2. Microfiber Cloth or Soft Sponge

Choose a soft and non-abrasive cleaning tool to avoid scratching the surfaces of your frother.
3. Warm Water
Warm water helps in breaking down milk proteins and fats, making it easier to clean.
4. Cleaning Brush with Soft Bristles
A cleaning brush with soft bristles will help you reach tight spots and ensure thorough cleaning.
5. Vinegar
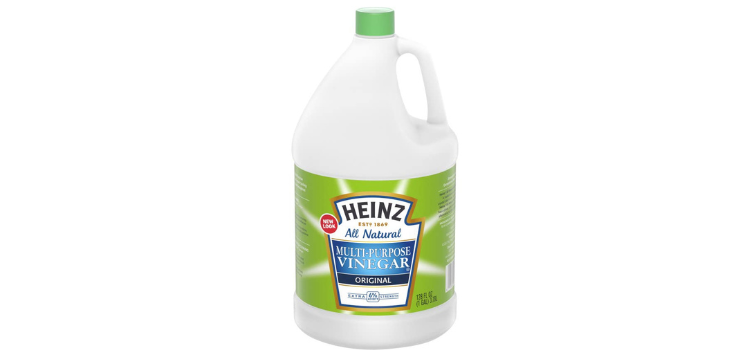
Vinegar is excellent for descaling and removing mineral buildup that might occur over time.
Step-by-Step Cleaning Process
Follow these detailed steps to clean your Nespresso milk frother effectively:
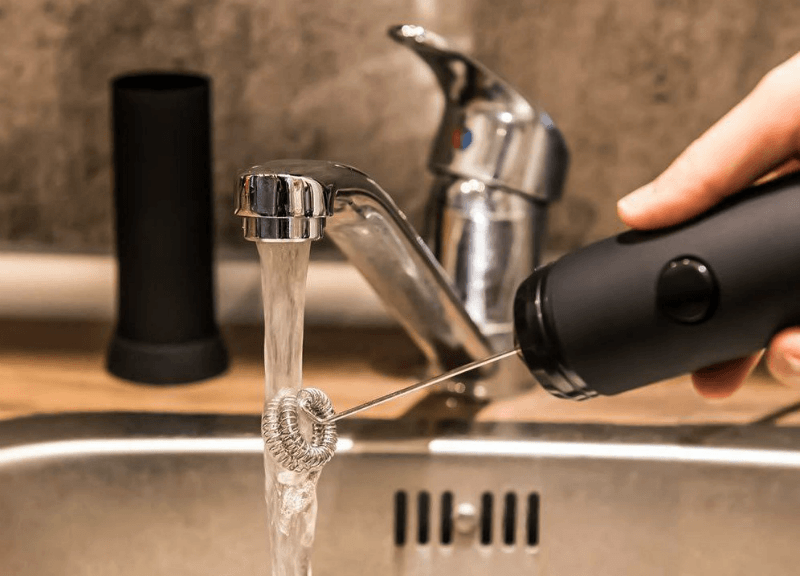
1. Unplug and Disassemble

Before you begin cleaning, ensure that your frother is unplugged and completely cooled down. Gently remove any detachable parts, such as the frothing whisk and lid.
2. Hand Wash Detachable Parts
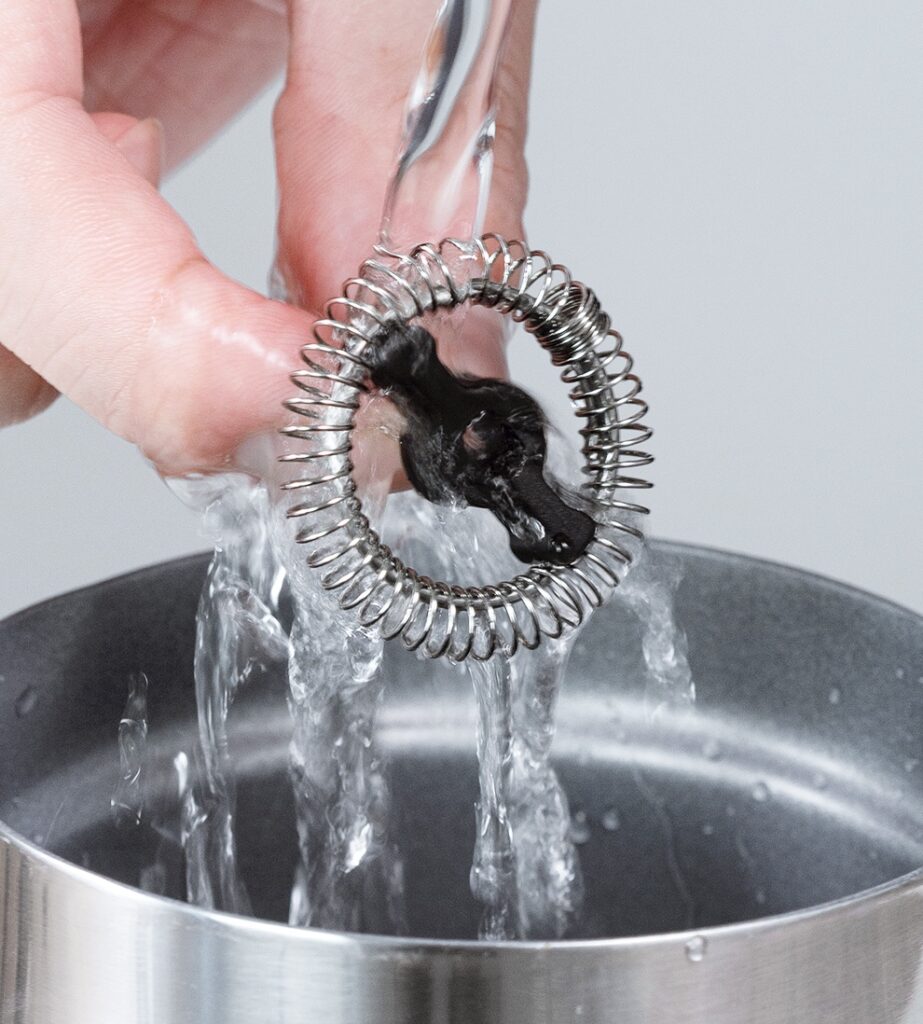
Fill your sink with warm, soapy water. Immerse the detachable parts and let them soak for a few minutes. Gently scrub each part using a soft sponge or microfiber cloth. Pay special attention to the frothing whisk, as it comes into direct contact with milk.
3. Clean the Interior
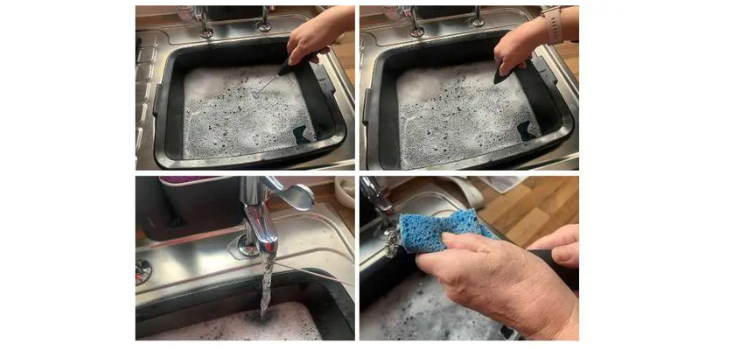
Dampen a clean cloth with warm, soapy water and wipe the interior of the frother. Be gentle and avoid excessive moisture near electrical components.
4. Address Stubborn Residue
If you notice stubborn milk residue inside the frother, create a mixture of warm water and mild dish soap. Dip a soft brush into the mixture and gently scrub the affected areas. For mineral buildup, consider using a mixture of vinegar and water (1:1 ratio) to descale the interior. Remember to rinse thoroughly afterward to remove any cleaning solution.
5. Exterior Cleaning
Wipe down the exterior of the frother with a damp cloth to remove any spills or splatters.Keep away from harsh materials that might negatively impact the finish..
6. Rinse and Dry
Thoroughly rinse all parts under running water to remove any traces of soap or cleaning solution. Let the components dry naturally on a fresh towel.
7. Reassemble and Test
Once all the parts are dry, reassemble your Nespresso milk frother. Plug it in and perform a test frothing session with water to ensure that everything is functioning correctly.
Maintaining a Clean Frother
Regular cleaning is essential, but there are also practices you can adopt to keep your Nespresso milk frother in prime condition for longer:
1. Clean Immediately After Use
Try to clean your frother right after each use. This prevents milk residue from drying and becoming harder to remove.
2. Avoid Harsh Chemicals
Stick to mild dish soaps and natural cleaning solutions. Harsh chemicals can damage the frother’s materials and affect the taste of your frothed milk.
3. Descale Periodically
If you notice a decrease in frothing performance or mineral buildup, descale your frother using the vinegar-water solution mentioned earlier.
4. Store Properly
When not in use, store your frother with its lid slightly ajar. This helps to prevent moisture buildup and odors.
Conclusion
Mastering the art of cleaning your Nespresso milk frother is a crucial step in ensuring the continued enjoyment of creamy, delicious froths in your coffee creations.
By following the steps outlined in this guide and adopting regular maintenance practices, you’ll be able to showcase your barista skills with confidence.
Remember, a clean frother not only enhances the taste of your beverages but also prolongs the life of your beloved appliance. So, give your Nespresso milk frother the care it deserves and elevate your coffee experience to new heights!