Introduction
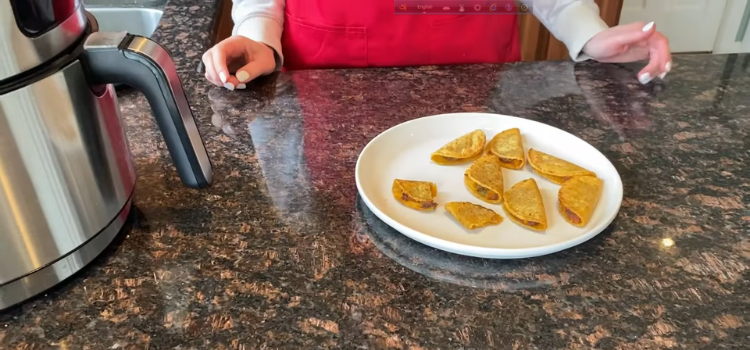
In the realm of culinary delights, few things rival the crispy perfection of fried dough. Now, imagine achieving that golden goodness without the guilt of deep-frying. Thanks to the wonders of modern kitchen technology, making fried dough in an air fryer is not only possible but also a game-changer for health-conscious food enthusiasts.
Understanding the Air Fryer Advantage
The Healthier Choice
Traditional frying methods often involve submerging food in oil, leading to a calorie-laden indulgence. With an air fryer, you can achieve the same crispy texture using significantly less oil, making your favorite guilty pleasure a guilt-free delight. Embrace the crunch without compromising your health.
Time Efficiency
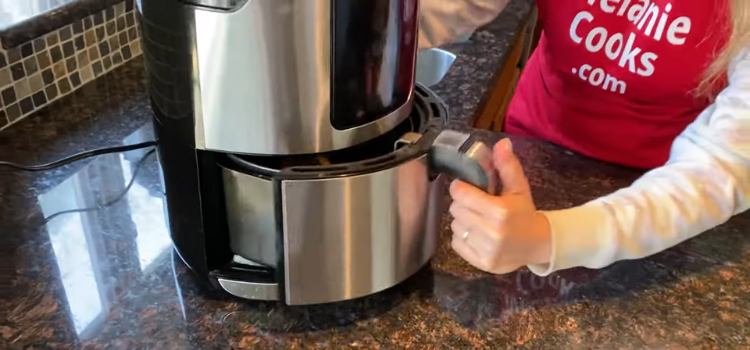
Picture this: a busy evening, craving fried dough, but time is of the essence. Enter the air fryer. Its rapid cooking capabilities mean you can enjoy your favorite treat in a fraction of the time it would take using conventional methods. Quick, easy, and utterly satisfying.
Mastering the Art of Air Frying
Choosing the Right Dough
Achieving fried dough perfection starts with selecting the right dough. Opt for a dough with a higher protein content, as it tends to yield a better texture when air-fried. Experiment with different recipes until you find the one that suits your taste buds.
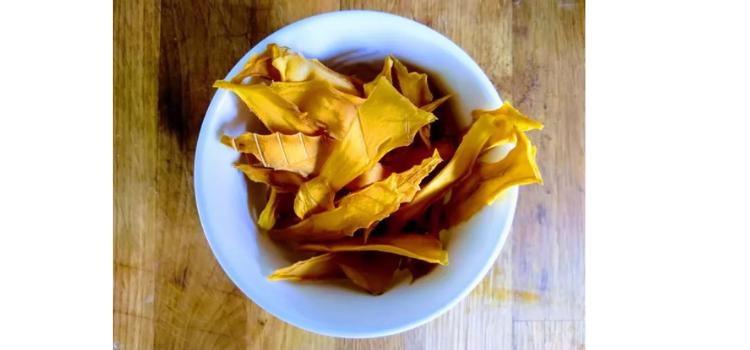
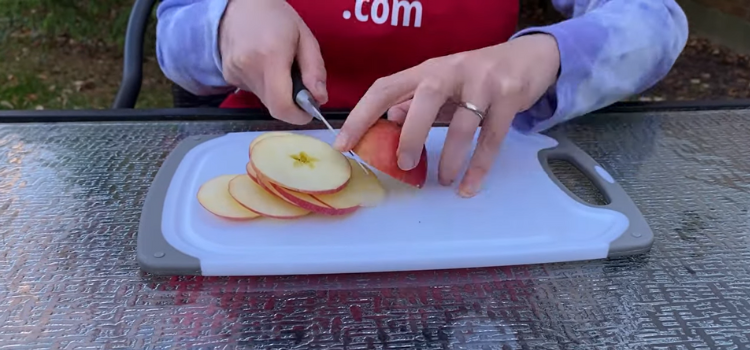
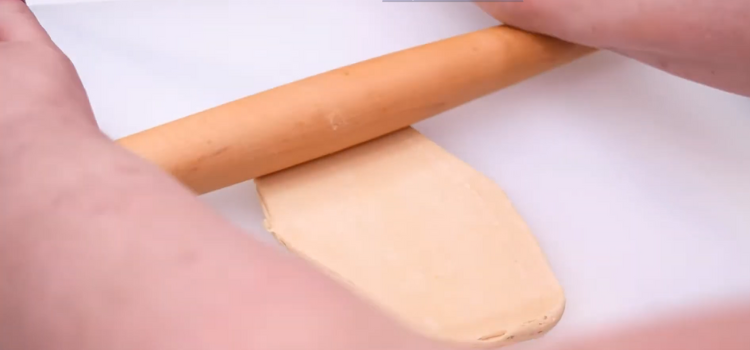
Preparing the Dough
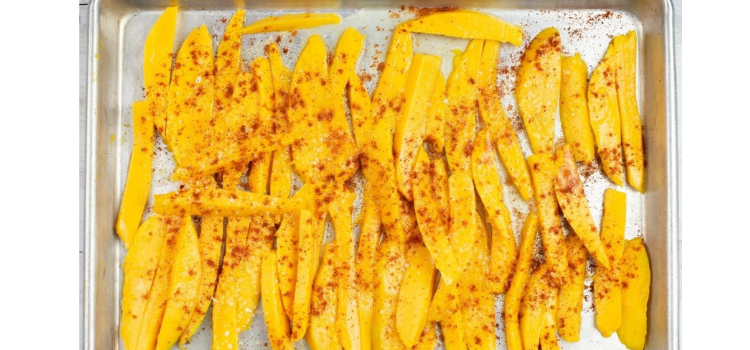
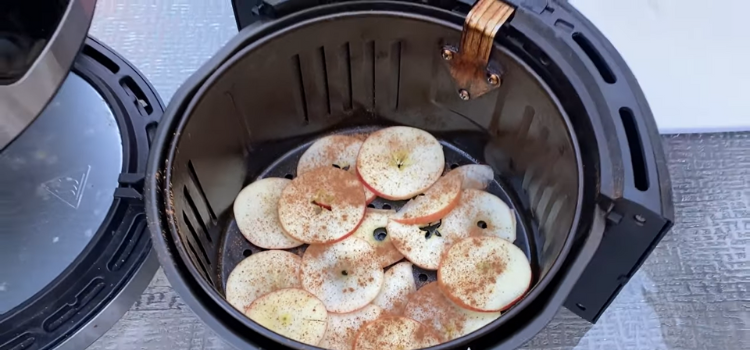
Attention to detail is key. Roll out your dough evenly to ensure uniform cooking. Consider adding a dash of creativity with flavored sugars or spices to elevate the taste profile. Remember, the air fryer isn’t just a tool; it’s a canvas for culinary artistry.
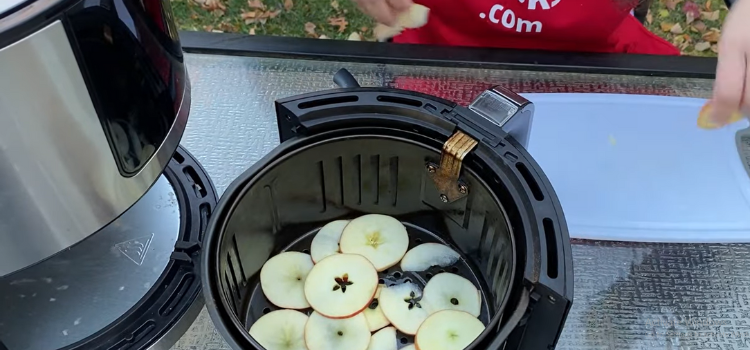
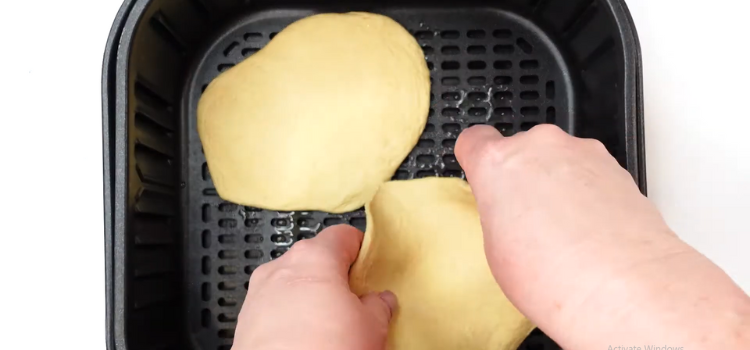
Temperature and Timing
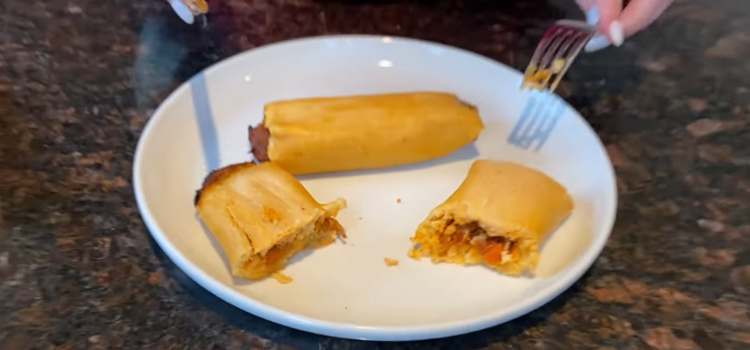
Precision matters. Set your air fryer to the optimal temperature, usually around 375°F (190°C). Keep a close eye on the clock to avoid overcooking. The result? A perfect blend of crispy exterior and soft, fluffy interior—a culinary masterpiece.
Troubleshooting Tips
Combatting Dryness
While air frying is known for its ability to retain moisture, it’s not immune to the occasional dry spell. Combat dryness by brushing a thin layer of oil on the dough before air frying. This simple step ensures a moist and delectable end product.

Tackling Uneven Browning
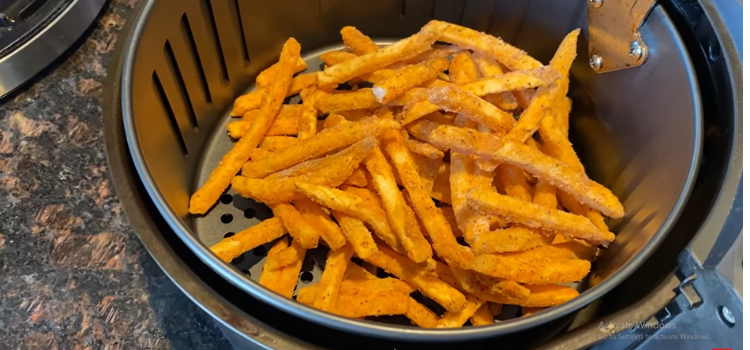
Achieving uniform browning can be a challenge. To overcome this, consider flipping the dough halfway through the cooking process. This simple maneuver ensures that every inch of your fried dough attains the perfect golden hue.

Serving Suggestions
Dipping Delights
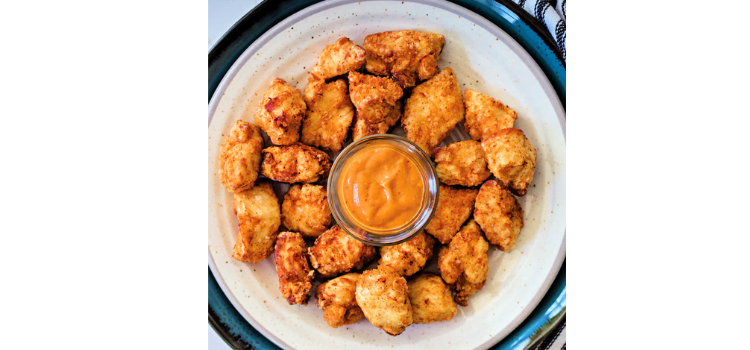
Take your air-fried dough to the next level with a variety of delectable dips. From classic chocolate and caramel to exotic fruit-infused sauces, the options are endless. Elevate your culinary experience by pairing your creation with the perfect dip.
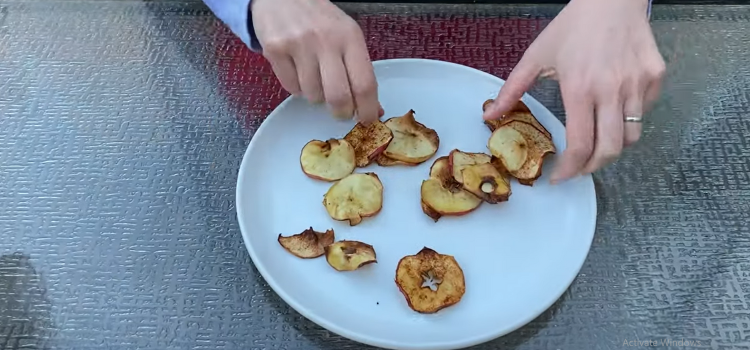
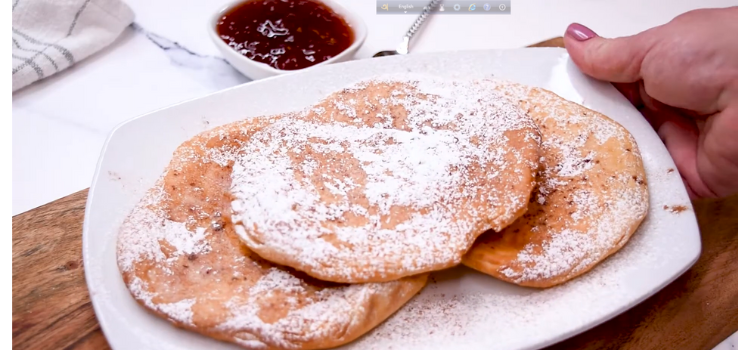
Presentation Matters
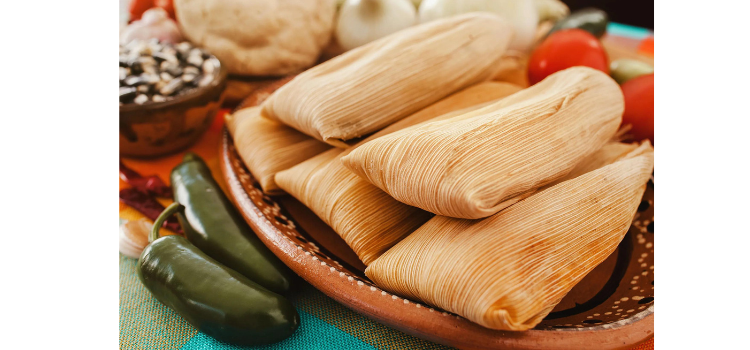
They say you eat with your eyes first. Make your air-fried dough a feast for the senses by presenting it with flair. Dust with powdered sugar, drizzle with glaze, or go all out with a scoop of your favorite ice cream. Create a visual masterpiece that’s as delightful to look at as it is to devour.
Conclusion
In the world of culinary innovation, making fried dough in an air fryer stands out as a testament to the marriage of tradition and technology. With the right techniques and a dash of creativity, you can transform a classic indulgence into a guilt-free, time-efficient masterpiece. Say goodbye to deep-frying woes and embrace the air fryer revolution. Your taste buds—and your waistline—will thank you.