Introduction
In the world of kitchen appliances, Proctor Silex stands out as a reliable brand, and their rice cookers are no exception.
If you’ve recently acquired a Proctor Silex rice cooker and find yourself in need of guidance, you’ve come to the right place. This comprehensive guide will take you through the step-by-step instructions to ensure you achieve perfectly cooked rice every time.

Understanding Your Proctor Silex Rice Cooker
Unboxing and Setup
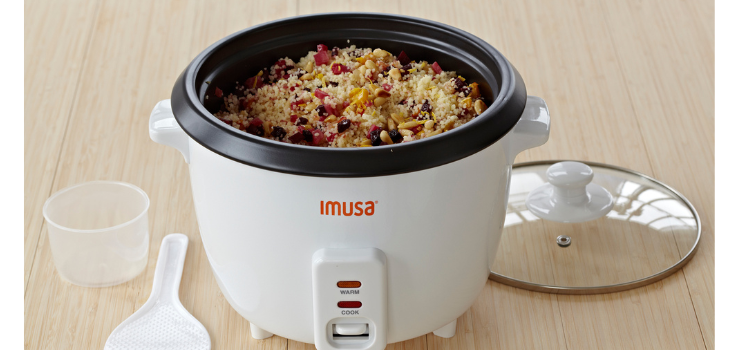
Before delving into the cooking process, it’s essential to familiarize yourself with the contents of the Proctor Silex rice cooker box.
Typically, you’ll find the main unit, a removable cooking pot, a steam basket, a rice paddle, and a measuring cup. Once unboxed, assemble the cooker by placing the cooking pot into the main unit.
Measurements Matter
One of the keys to flawless rice is accurate measurements. Utilize the provided measuring cup to portion your rice precisely. Pro tip: Boldly mark the water level inside the cooking pot for future reference, ensuring consistent results every time you cook.
The Cooking Process
Rinse and Repeat
Begin by rinsing your rice under cold water until the water runs clear. This step helps eliminate excess starch, preventing your rice from becoming overly sticky. Boldly emphasize the importance of this step for optimal results.
Perfect Proportions
Refer to the Proctor Silex instruction manual for the recommended rice-to-water ratio. Generally, it’s one cup of rice to two cups of water, but variations may exist depending on the type of rice.
Programming Perfection
Proctor Silex rice cookers often come equipped with user-friendly controls. Program the cooker based on your specific rice type, whether it’s white, brown, or another variety. The cooker will then handle the rest, ensuring your rice is cooked to perfection.
Additional Features
Steaming Made Simple
Beyond rice, your Proctor Silex cooker can be a versatile kitchen companion. Explore the steaming basket for preparing vegetables, dumplings, or even fish. The possibilities are endless, and this functionality adds significant value to your cooking arsenal.
Keep Warm Functionality
No more rushing to serve your meal immediately. Proctor Silex rice cookers often feature a convenient “keep warm” function. Boldly highlight this feature, emphasizing the extended period your rice can stay warm without compromising its quality.
Cleaning and Maintenance
Easy Cleanup
Maintaining your Proctor Silex rice cooker is a breeze. The removable cooking pot and steam basket are dishwasher-safe, making cleanup efficient. However, ensure to wipe down the exterior with a damp cloth, and never submerge the main unit in water.
Troubleshooting Tips
Overcoming Common Challenges
Encountering issues with your rice cooker is normal. For instance, if your rice turns out too sticky, adjust the water-to-rice ratio slightly. If it’s too dry, consider adding a touch more water. Provide a quick reference guide for common problems and their solutions.
Final Thoughts
In conclusion, mastering the art of cooking rice with your Proctor Silex rice cooker is a straightforward process. By following these detailed instructions, you’re well on your way to consistently enjoying perfectly cooked rice and exploring the full potential of your kitchen appliance.